As you probably know, photography means drawing (or writing) with light. Simply said: no light, no photography. In this post I’ll describe two important aspects of light:
Quality of light usually refers to its degree of diffusion, i.e. how harsh or soft it is.
We tend to think that a clear sunny day is ideal for photography. As we will see, in reality it often gives the worst possible lighting, especially for taking plant pictures.
A direct light source, such as the sun in a clear sky, produces harsh, contrasty light . The highlights and shadows are strong , resulting in big contrasts with abrupt transitions. This hard light also tends to make colours weaker.
Our eyes can cope with this kind of light much better than the camera, so that what looks acceptable in the viewfinder often turns out useless once it is photographed.
When the contrasts between light and dark are too big, many details will be lost, either in shadows or in washed-out areas. You may therefore have to use a diffuser to soften harsh sunlight and/or a reflector to get some light in a dark spot.
Hold the diffuser as close as possible to the subject. If you hold it further away, it will just throw a shadow on it.
 This picture was taken in harsh sunlight and is therefore very contrasty.
Even after spending quite a bit of time enhancing it in post-production, this was the best result I could get.
 This photo of the same species was made on a bright, overcast day, giving a much more pleasing result, even without any enhancing.
Using a diffuser on a sunny day would have yielded a similar result.

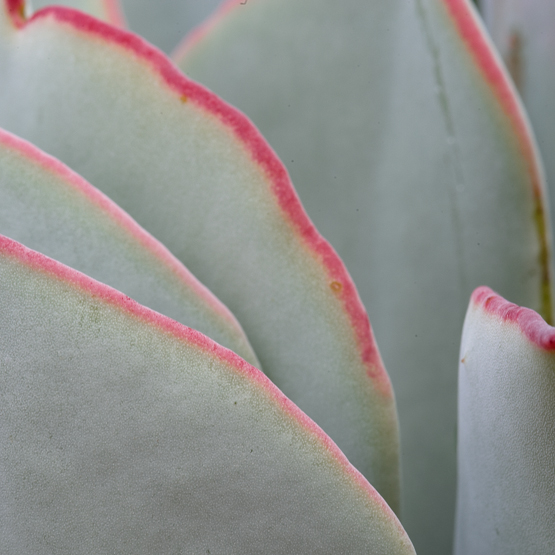
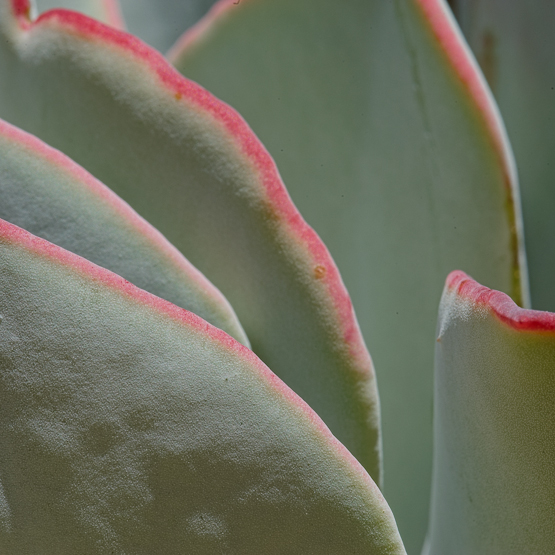
In this pair, the differences are rather more subtle. The first picture was made without doing any special; for the second one I used a diffuser.
Although I like both of them, the first one reminds me more of the hot and sunny day on which it was made. Therefore it also gives a better idea of the conditions these plants have to cope with.
In many cases the sensible and careful use of flashlight may also help. If none of this works, you will have to decide what is more important to you: preventing the highlights from becoming burnt-out or the dark areas from turning completely black. The first option is usually best.
On bright overcast or misty days the light will be soft and diffused, with shadows evenly scattered around the subject. This kind of light produces soft contrasts and is easy to work with. It is very pleasing for photographing flowers. However, sometimes you may have too much of a good thing and end up with light that is too flat. In such a case, it is a good idea to add some shade to a small portion of the picture or alternatively to highlight another part so that it stands out more.
Reflected light is often soft too. Completely overcast days with heavy, dark clouds are not so good for flowers, but may work well for other parts of plants.
Direction of light refers to the camera position with regard to where the light comes from. There are three primary directions of light: front, side, and back. They all have their own characteristics and exert different influences on the mood of an image. Depending on your subject you should try different kinds of lighting to see what effects you like best.
When the light comes from behind you and falls directly on the front of your subject matter, we talk about front lighting. The entire subject is evenly lit and the shadows mostly fall behind the subject, so that this often appears lacking in volume and texture. In close-up photography this type of light also may cause problems by the lens or lens shade throwing a shadow on the subject.
Back lighting is the opposite: the light comes from behind your subject matter; it emphasises shadows and outlines shapes strongly.
 Back lighting can produce striking pictures, especially against a dark background
It creates strong contrasts and can produce a bright outline around the subject. Like side lighting it can make the colours of translucent objects sparkle. It is most effective with translucent or strongly coloured leaves or flowers. It may be necessary to underexpose 1-2 stops in order not to overexpose the bright areas; on the other hand it is sometimes advisable to open up 1-2 stops in order to allow detail in the subject. Therefore this is one of the situations where you should bracket your exposures.
Back lighting is not an easy light to work with, but it tends to create a strong mood and can produce images that are hard to ignore. Both side lighting and back lighting normally occur when the sun is low on the horizon (early in the morning or late in the afternoon). When you can photograph a plant from underneath, you may get the back lighting effect at other times of the day as well.
Side lighting is best for showing texture, as it gives the picture a 3-dimensional quality.
There is a clear separation between the light and the dark side of the picture. The shadows produced by side lighting may or may not be useful in composing your picture. Like back lighting it can make the colours of translucent objects sparkle.
 Because the light is coming from the side, we see not only the tiny dewdrops, but also their shadows on the leaf
